How to Edit Headshots Like a Pro: Cropping, Retouching, and More
Editing headshots is key to creating polished, professional images that convey authority and personality. From cropping to retouching, adjusting lighting, and enhancing facial features, learn step-by-step tips and advanced techniques for crafting standout headshots.
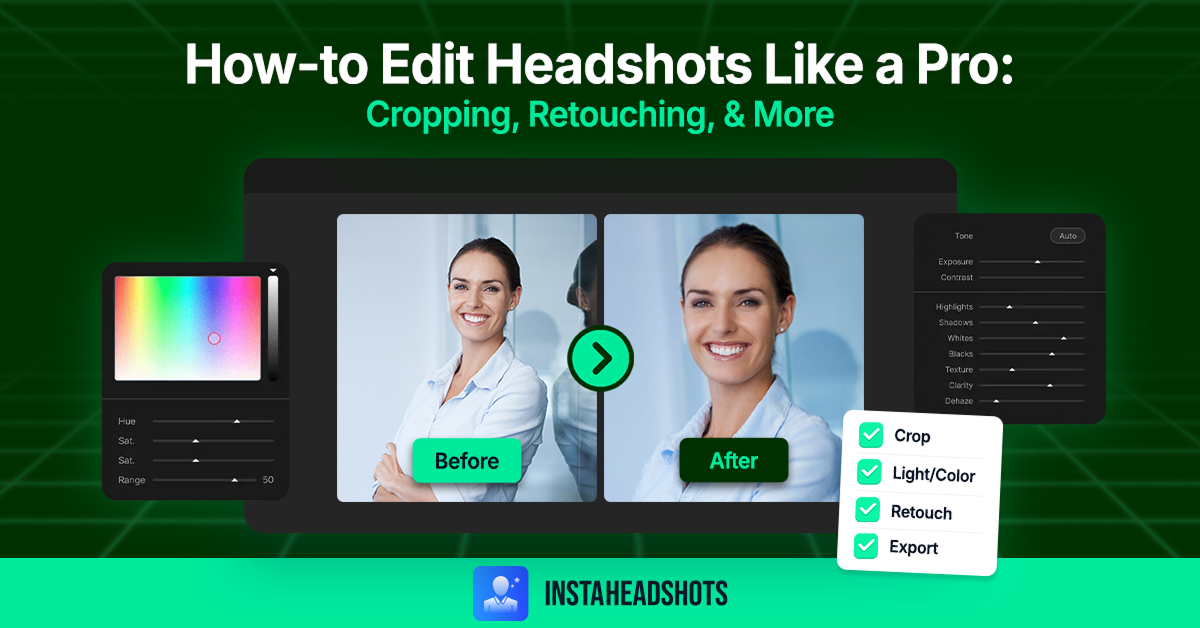
Editing headshots plays a vital role in creating professional, authoritative, and polished headshots. Ideal for website banners, resumes, and portfolios, editing and correction help convey the personality you want. Today, we will explore how to edit headshots by enhancing colors, softening skin, blurring background, and finding the perfect crop with the right editing techniques. Let’s dive into the best practices, tools, and tips on how to edit a headshot for a polished, professional image.
Essential Steps for Editing Headshots
Below is a step-by-step guide to editing headshots for professional use:
- Importing Images: Shortlist the best photos from the shoot. Next, import images into your preferred editing software, such as Photoshop, Adobe Lightroom, etc.
- Basic Adjustments: Analyze how to crop headshots. Other basic adjustments include fixing the exposure, contrast, and white balance.
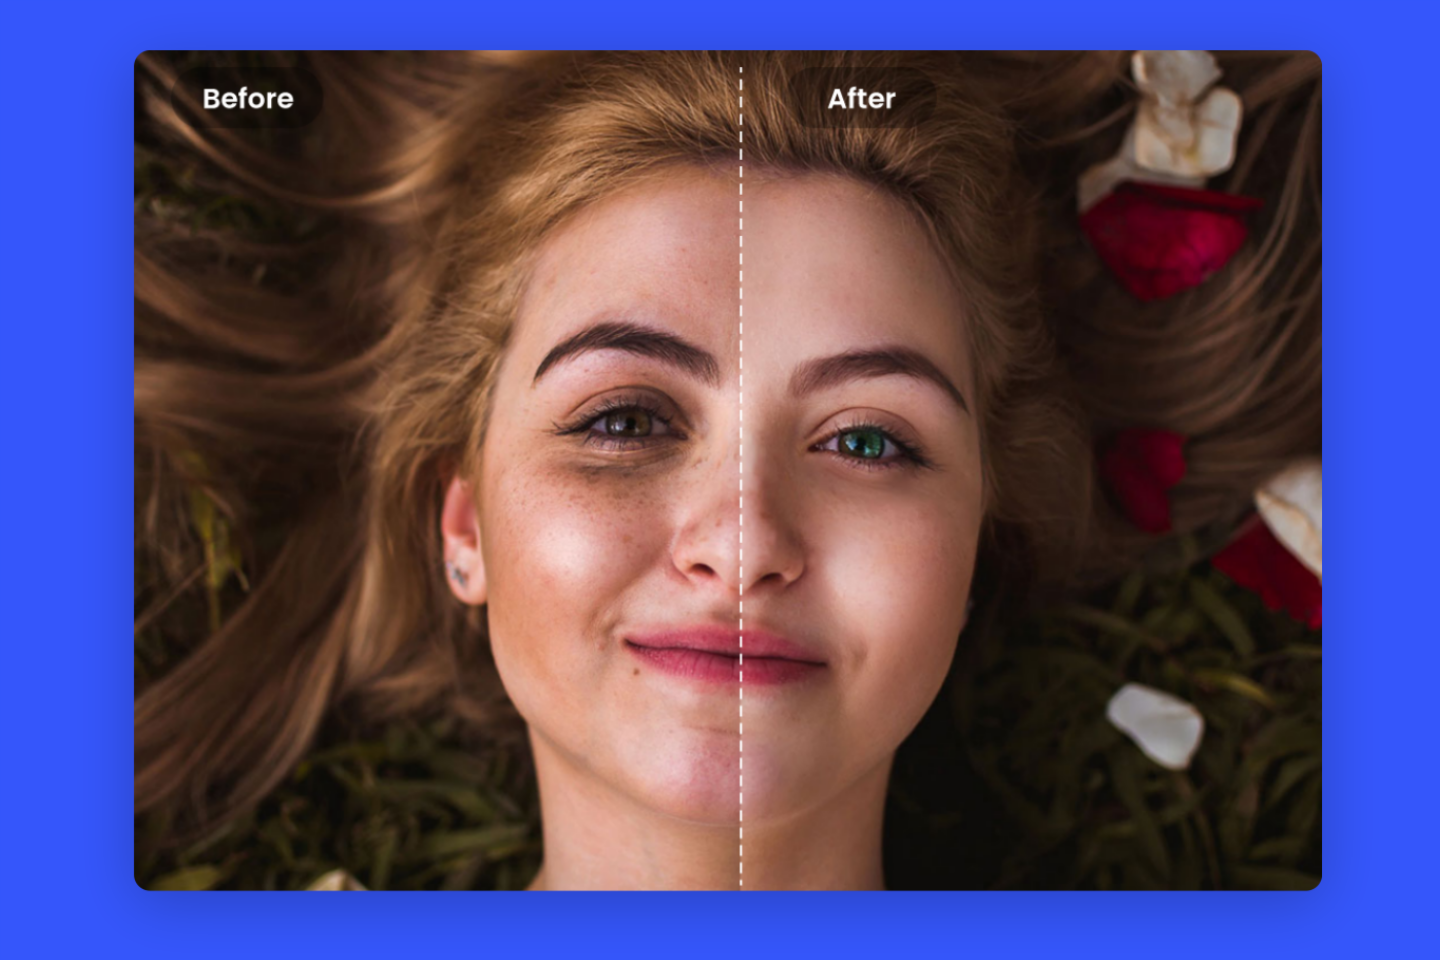
- Image Retouching: Using editing tools to maintain overall skin texture, smoothening the final result is necessary.
- Highlighting Features: Highlight the face’s features by enhancing the contrast in the eyes, brightening teeth, and slightly brightening the eyes for a radiant yet natural look.
- Final Touches: Focus on the subject and sharpen the image for best results. Adjust the saturation and vibrancy to make the image pop.
- Export the Final Image: Choose a high-quality resolution to export the edited headshot in a preferred format such as JPEG, PNG, etc.
How to Crop a Headshot for the Best Composition
When exploring how to crop a headshot, begin by focusing on the subject’s face for the best composition. Follow the rule of thirds to draw attention to the face. For this, position the eyes along the top third of the image. Avoid cutting limbs abruptly and stick to portrait orientation with a consistent 8x10-inch ratio.
Adjusting Lighting and Color for a Professional Look
Below are a few tips on how to edit headshots for a professional look:
Retouching Tips: Skin, Hair, and Blemish Removal
Let us check out how to edit headshots for essential retouching:
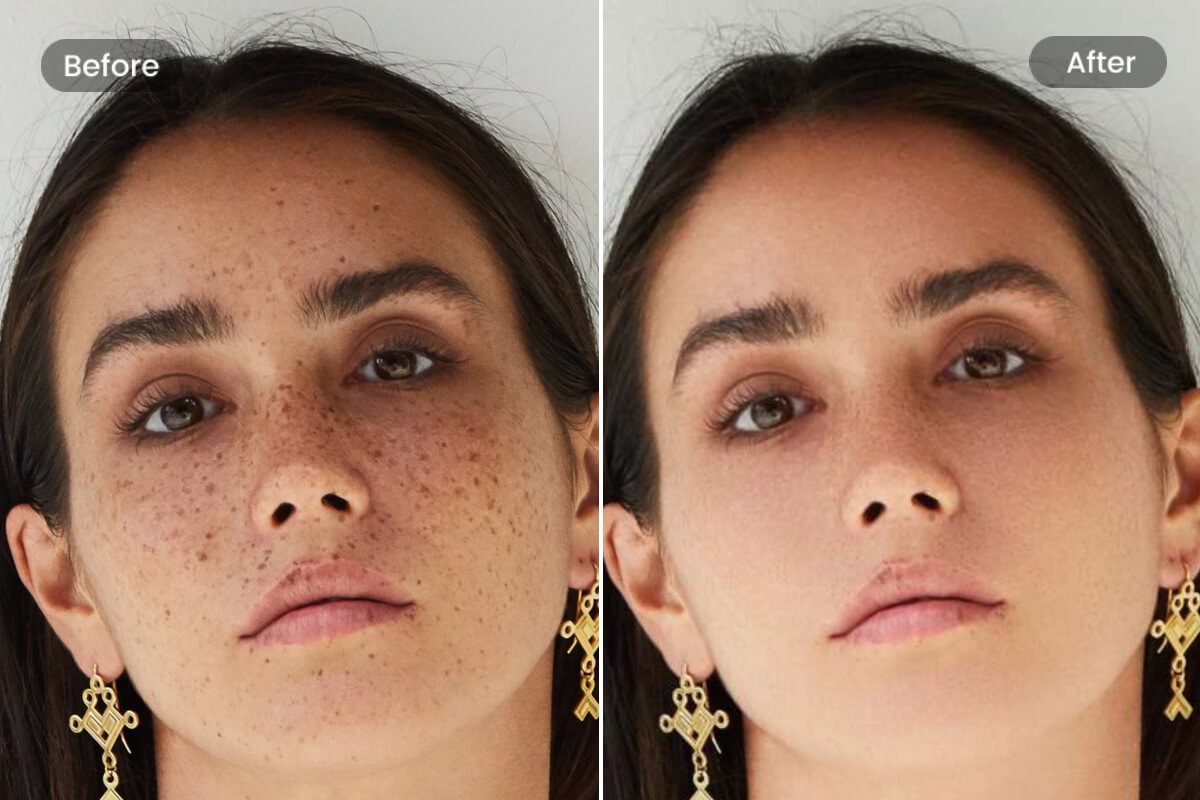
- Reduce Blemishes
Use the spot removal tool to target imperfections and improve overall skin texture:
Size: Adjust to the size of the blemish
Feather: Set to around 50% for smooth blending
Opacity: Keep it low to retain natural skin texture
- Blur Imperfections
Achieve a smooth look by using the frequency separation or healing brush to maintain a natural texture.
Healing Brush: Set the size slightly larger than the imperfection
Frequency Separation: Set the opacity to around 40% for subtle smoothing
- White Eyes
Adjust the eyes for brightness for a vibrant final result. This slight adjustment will make the headshot more engaging and lively, as expressions play a major role in creating professional images.
Exposure: +0.2
Contrast: +10
Clarity: +10
- Make Basic Adjustments
For a more natural look, enhance the features such as jawline and cheekbones with Dodge and Burn techniques. Create shadows under the chin or accentuate important areas for the best results.
Dodge (lighten): Set Exposure to +0.2 and paint over cheekbones or jawlines
Burn (darken): Set exposure to -0.2 for areas under the chin, around the nose, and eyes to add depth.
Overall, maintain a natural look for a long-lasting impact and genuine results.
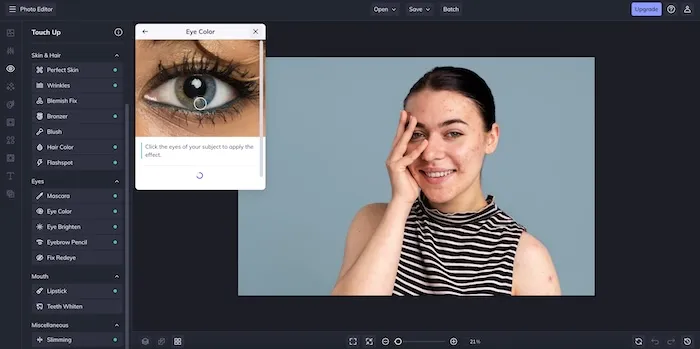
Enhancing Eyes, Teeth, and Other Facial Features
Consider making subtle changes while increasing the saturation and vibrance in the iris to add brightness and color to the portrait. This is how to edit a headshot for more lively and engaging results:
Exposure: +0.2
Contrast: +10
Clarity: +10
Saturation: +5 to +10
Make sure to blend the effect naturally by adjusting the mask’s feathering and keeping the brush soft.
Advanced Techniques: Adding Background Blur and Color Grading
Background blur is added to headshots for a professional touch. To add depth and dimension to the image, follow the below steps:
- Use the Radial Filter Tool:
- Look for a preferred software such as Lightroom.
- Choose the Radial Filter tool (if using Lightroom).
- Select the subject’s face and draw a radial filter around it. Increase featuring for a smooth effect.
- Apply Blur Effect to the Background:
- Reduce the sharpness by adjusting it from -30 to -50. This will create a soft blur without affecting the focal point.
- Lower the exposure or decrease the contrast in case the background appears too distracting.
Next, add a gradient to the background for a polished, studio-quality look. Here’s how:
- Again, using Lightroom, select the Graduated Filter tool.
- Create a subtle gradient effect by positing it from the top of the image. You can consider adjusting the exposure and contrast for a desirable result.
- Choose preferred colors that do not distract from the subject. For instance, consider warm tones such as burnt orange or soft yellow for a flowing effect or cooler shades such as greens or blues for a modern effect.
Common Headshot Editing Mistakes to Avoid
While you may have discovered how to edit headshots, it is necessary to acknowledge the common mistakes for best results:
- Overediting: Avoid overediting as this may portray unprofessionalism and derive your headshot of its natural effect.
- Unnatural Skin Smoothing: Target imperfections without going overboard with smoothing the skin.
- Poor Cropping Choices: Use the rule of thirds to crop the image while keeping the face as the focal point.
- Distracting Backgrounds: Avoid busy patterns and distracting backgrounds. Opt for solid, neutral backgrounds to prevent distraction from the face.
- Incorrect Color Grading: Do not go overboard with the color gradient. Consider warm or cool color palettes for optimal results.
- Excessive Sharpening: Sharpen the eyes for a lively effect. Maintain equilibrium by selectively sharpening the eyes, hair, and key facial features.
Frequently Asked Questions
- How should you edit headshots?
Focus on achieving a natural look by adjusting exposure, contrast, and sharpening settings.
- How do I edit a headshot on my iPhone?
Editing apps such as Picsart or Snapseed can be used to adjust the brightness, contrast, and saturation. Blur any imperfections and smoothen the skin.
- How to edit your own headshot for free?
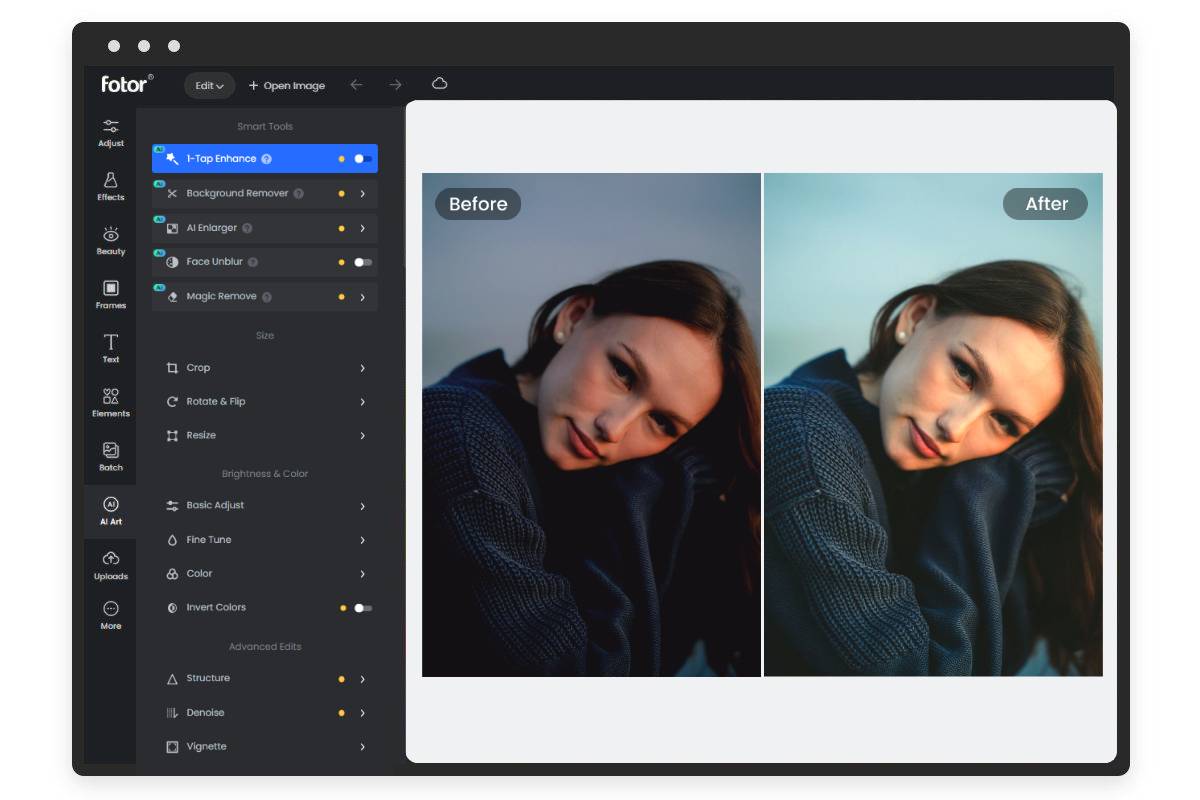
When exploring how to edit headshots for free, most people use apps such as Canva and Fotor to adjust the size and crop the image. Apps like Pixlr or GIMP allow for fixing the sharpness and retouching of minor imperfections on the skin.
- What is the best editor for headshot photos?
Fotor, Pixlr, and Snapseed are the best ways to go about it if you're looking for how to edit a headshot.
- Which app do most photographers use to edit pictures?
Professional photographers often rely on Adobe Lightroom, Adobe Photoshop, and Capture One to adjust the effects. VSCO and Snapseed are also popular choices if you’re learning how to edit a headshot professionally.
Want your headshots to look polished and professional?
Welcome! You have arrived at the ultimate destination for AI professional headshots. Here’s why our service stands out:
- Extraordinary Reviews: Our clients consistently give us outstanding reviews, praising the quality and professionalism of our work.
- Exceptional Output: We guarantee high-quality headshots that meet your expectations and beyond.
- Competitive Pricing: Our prices are competitive, offering excellent value for the quality you receive.
- Convenience and Comfort: Forget the offline hassle of preparing for a photoshoot. Our process is streamlined and stress-free.
- Affordable Packages: We offer a variety of packages to fit different needs and budgets.
Contact Us:
If you have any questions or need further information, our team is here to help. Feel free to reach out at [help@instaheadshots.com].
Don’t wait any longer! Create your perfect headshot now and experience the difference.


