
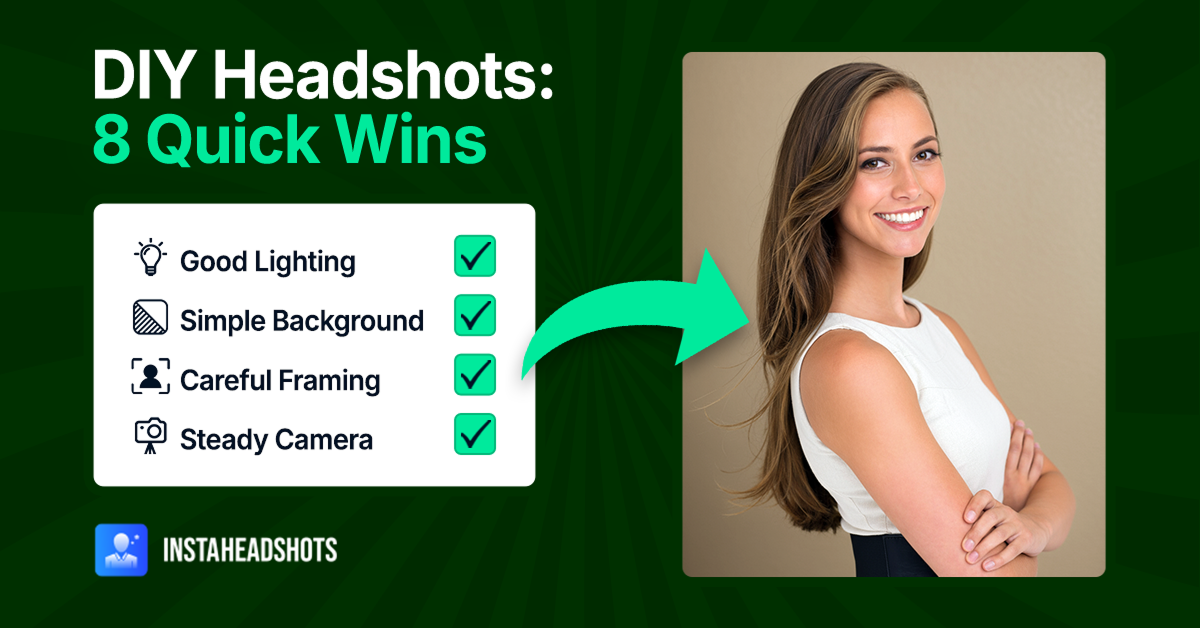
8 Essential Headshot Tips for a Great Professional Photo
Take better professional headshots with these top tips. Learn how to pose, dress, and work with your photographer to capture your best self.

Have you ever considered how easily visual content has taken over written content? A compelling headshot tells a story, whether captured by a DSLR or in a DIY setup. The key is to convey originality, confidence, and personality through your image. Contrary to popular belief, you don't need a professional photographer to achieve great results; today's smartphones and editing apps can do wonders.
In this article, we'll share essential tips for professional headshots that you can apply immediately. Get ready to discover headshot tips that will help you capture your best self!
DIY Headshots vs. Professional Headshots
First things first. Let's understand some fundamental differences between the “classic” professionally done headshots and the “modern choice,” DIY headshots to know the proper technicalities.
DIY photography is all about using your phone's camera, watching a few YouTube tutorials, and then shooting your headshot. It may seem simple if you have the right headshot tips, but DIY iPhone shots have even graced magazine covers.
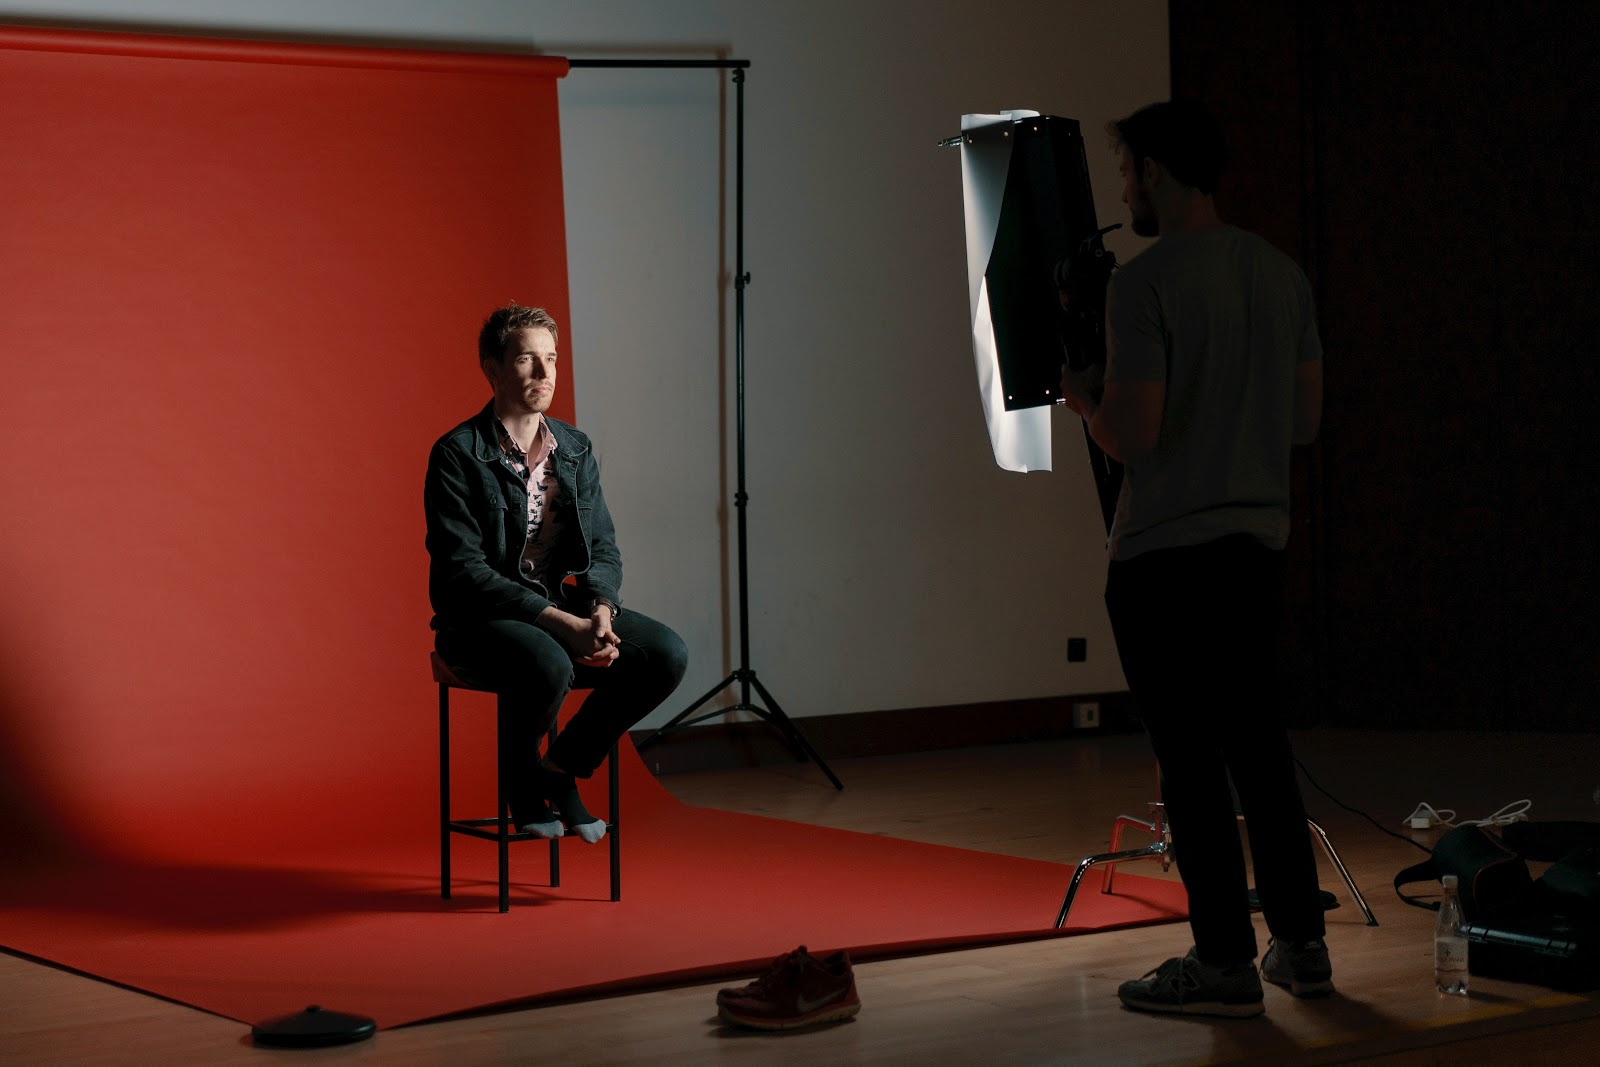
Professional headshots are done by photographers who apply expert techniques to achieve perfection. However, perfection comes with a cost, and professional headshots can be expensive. This motivates some to opt for a DIY photoshoot, especially when on a budget.
If you're on a tight budget and opting for a DIY photoshoot, you'll want to follow some key tips for headshots to achieve the best results. To capture the perfect DIY headshot at home, you can check out the 8 headshot tips listed in this article.
8 Tips to Take a Perfect DIY Headshot
Tip 1: Finding the Perfect Lighting
The best light is thought to be diffused or has a scattering effect from natural sunshine. However, that does not imply that you will snap a photo with the sun directly in your face. Everything looks impressive for casual social media posts but not for official headshots.
So, the best headshot tip is to find a location where the surface receives a good amount of light, then just stand near it and don’t face it directly. However, if the light directly strikes you, reverse that action or take a small step back. If it still appears sun-kissed or sun-throbbed, you want to wait for the ideal moment until the light fades slightly into the twilight glow. And the moment, you feel everything is in place; Just Click!
Tip 2: Choosing a Simple Background
Firstly, the background should be clean and tidy with no clutter according to the top tips for professional headshots. No furniture, photo frames, decor, or other items should be taken in the frame of your picture. The more precise, the better. Secondly, the background color should complement your outfit and your overall look.
Also, the background color should not be very bright or catch the eye more than the subject, i.e., YOU. The light and everything else should be perfect and balanced to understand the contrast between the subject and the background of the headshot.
Tip 3: Picking the Right Outfit
One common mistake is not evaluating the right fit. So, finalizing your clothes, and checking the fit, pattern, and style is one of the most important professional headshot tips. Mistakes can ruin both the mood and the headshot, so ensure everything is flawless on headshot day.
To avoid any disappointment:
- Try on all your perfect-fitting formals, suits, or anything else that gives you confidence, and then decide what suits you the best.
- Try a variety of accessories to improve your overall appearance.
- Check the fittings beforehand in case there are any fitting-related problems.
- Avoid selecting colors that blend in with the background or are very elaborate.
- On the day of the session, try on various outfits to see what fits your personality and style. Make a ton of looks. Learn what hues work best for your skin tone.
- Analyze the fashion choices made by well-known figures in your business. That could help your headshot look more distinctive.
- Avoid a hairstyle for a headshot that's completely clashes with the ensemble.
Be clear. Be tidy. Be elegant.
Tip 4: Keeping Natural Makeup
Less is more when it comes to doing makeup for your professional headshot session. Try the “No Make-up Look” or do something subtle and clean: no gaudy lip shades, eyeshadow, gels, or too much tint. However, make extra plans for the days leading up to your shoot and focus on your skincare. Prevent dullness or outbreaks of acne brought on by pollution exposure. The mark may be covered with makeup, but applying too much would make it look unflattering.
But yes, the pro tip for headshots is to keep doing little touch-ups between the shots, as you do all the work yourself. This is A DIY professional shoot. Adjusting the camera multiple times and managing several other things might make you look tired in between, so keep a check that everything is alright.
Tip 5: Doing Essential Grooming
Essential grooming techniques can transform anyone into a Glam. People tend to ignore grooming and focus on all the other professional headshot tips without realizing its importance.
So, here are some essential things to take care of:
- Sleep Well: A good night's sleep is the foundation of grooming. While makeup can hide dark circles, it's best if they don't exist at all. Rest, unwind, and allow your body to recharge for a naturally refreshed appearance.
- Hair Care: Ensure all hair strands align and avoid frizz. Lightly mist hairspray on a brush and smooth your hair to avoid a sticky or thin look. Keep checking for frizz between shots.
- Look for Glow: Flashing lights can highlight dark spots or scars, making your face appear dull. Apply enough lotion before the shoot to ensure even makeup application and a healthy glow.
Tip 6: Focusing on Poses and Expressions
Expressions
Your smile and confidence are key while posing for your DIY headshot according to the tips for professional headshots. Experiment with various expressions, both with and without showing teeth. Find what works best to enhance your look. Remember, your smile and confidence are your best accessories.
Poses
Posing is all about experimenting. Let your headshot pose reflect your vibe.
- Straight Pose: Face the camera directly with squared shoulders for a confident and warm look.
- 3/4 Turn Pose: Slightly angle your body away from the camera and turn your face towards it for added dimension and a slimming effect.
- Profile Pose: Turn your body sideways to highlight your features, particularly appealing for strong side profiles.
- Smile Pose: A genuine smile instantly adds warmth and charm to your photos.
- Natural Movement Pose: Incorporate small movements, like walking or adjusting your hair, to add authenticity and spontaneity to your shots.
Tip 7: Use Your Camera Correctly (Or Get Help)
The viewpoint of the camera should always be correct. You should follow the headshot tip of it pointing towards you in the middle of the frame. You might want to take somebody’s help to get that correct and place the camera correctly.
The angle of the camera and basic camera settings before starting to shoot are the most important things while capturing a DIY headshot. A slight adjustment here and there has the power to make or ruin it.
Don't change the settings much if you don't know all the features. First, use it with the same settings and then consider adjusting them according to the requirement.
Tip 8: Doing Basic Editing
Just do basic editing after capturing your DIY headshots to give them that professional touch. Play with settings like light exposure, hue, brightness, contrast, or filters. Filters look very bad and unprofessional as per professional headshot tips, so avoid them.
Yes, pictures need editing, but to a limit where even tone and glare adjustment is considered. And not changing your skin tone or beautifying it unnecessarily. Keep in mind that this is a professional headshot. This means people will create an image in their head seeing this. So, the image must align with the real one.
Over to You
That was a long list! But it was to make your DIY headshot session successful and for you to get a perfect professional-looking headshot.
Well, long lists often need revision. Let's revise it a little faster.
Chase the light>Get the Right Outfit>A Little Grooming>Go Natural>Some Camera Settings>A Pinch of Editing. And, your perfect DIY headshot is ready!
Of course, it's not as easy as it looks, but with proper effort and planning, it's not even that big a deal. These headshot tips can help you get what you want. So, what are you waiting for now?
Get that phone, open that closed window, and capture your professional headshot right now.
Frequently Asked Questions (FAQs)
- Can I use a selfie as a headshot?
You can, but it might not have the polished look of a professional headshot. For formal use, a well-composed shot is usually better.
- How do I get better at headshots?
Practice makes perfect! Try different poses, use good lighting, and take your time. Check out pro headshots for inspiration on angles and expressions.
- How to make your headshot stand out?
Let your personality shine. Use natural expressions, good lighting, and a simple background. Pick an outfit that reflects your style and brand.
Are you on a budget but still want stunning professional headshots?
Wondering where can you get professional headshots? We have got you covered!
Welcome to InstaHeadshots, an AI headshot generator! We’re your go-to AI solution for creating standout professional headshots. InstaHeadshots makes it easy to get high-quality images from the comfort of your home.
Why Choose InstaHeadshots?
It is perfect for you and your friends as it offers:
- Outstanding Reviews: Our clients rave about the quality and professionalism of our work.
- Superior Quality: We deliver high-quality headshots that capture your unique personality and professionalism.
- Competitive Pricing: Get exceptional value with our competitively priced packages.
- Stress-Free Experience: Enjoy a seamless and comfortable photoshoot process without any hassle.
- Customizable Packages: We offer a range of packages tailored to fit your specific needs and budget.
Contact Us:
Got questions or need more information? Our friendly team is here to help. Reach out at help@instaheadshots.com.
Don’t Wait! Get Your Perfect Professional Headshot Today.