Common ERAS Photo Mistakes: A Fast Pre-Upload Checklist
The common ERAS photo mistakes that quietly signal 'unprofessional', wrong crop, filters, busy backgrounds, and the exact fixes. Plus a 30-second pre-upload check.

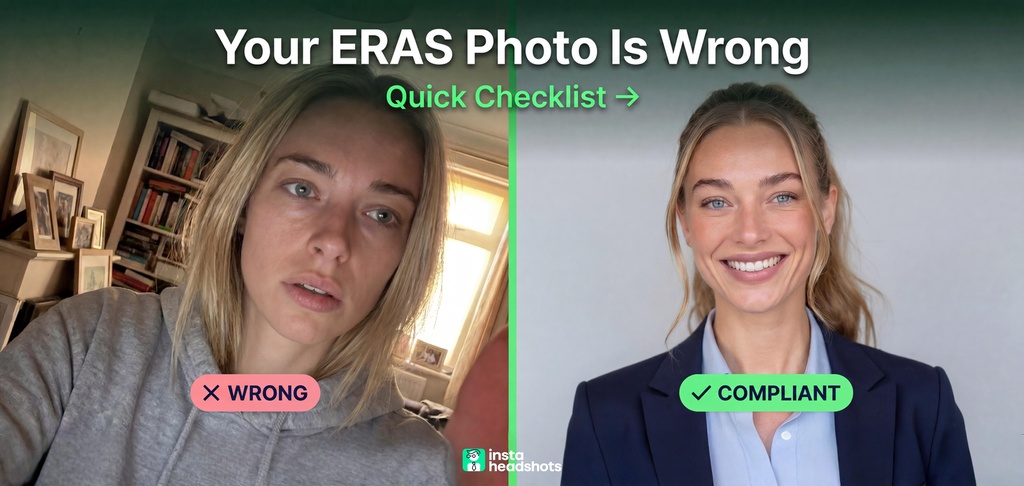
I have interviewed thousands of people. I can tell you the first signal a reviewer processes is almost never the words. It is the image.
Most ERAS photo advice is vague. "Wear a suit. Use white. No selfies." That is motion, not progress. It does not tell you which rules are real and which are folklore. So I dug into the official AAMC and ECFMG specs and the current advisor guidance to separate the two.
Here is the good news. The mistakes that sink an ERAS photo are predictable. They cluster into a few buckets. Fix those, and you remove a source of unconscious negative signal before a program director reads a single word.
Below is the full list, with a one-line fix for each. I close with a 30-second pre-upload check you can bookmark. Complex problems usually have simple governing variables. This one does too.
The Fast Answer: Three Buckets of Mistakes
Almost every ERAS photo failure falls into three groups. Learn these and you have the whole framework.
- Technical file and crop errors. Wrong size, oversized file, wrong format, awkward crop.
- Identity and trust errors. Selfies, heavy filters, over-retouching, AI-generated faces.
- Attention-stealers. Busy backgrounds, casual clothing, loud patterns, shiny skin.
The photo has one job. Let a program identify you. The AAMC says the photo helps "identify you when you report for an interview." Anything that breaks that recognition is a functional failure, even if it passes upload.
Here is the compliant spec in one line: 375 x 525 pixels, JPG or PNG, portrait, color, under 150 KB. That is it. If you want the full breakdown, I wrote a separate compliant ERAS photo spec guide.
Technical Mistakes: The Hard Floor You Cannot Argue With
The technical spec is binary. Your upload either passes or it does not. There is no partial credit. This is the easiest bucket to get right and the most common one people fumble.
The AAMC lists only three hard numbers: 2.5 x 3.5 inches, 150 dpi, and a 150 KB maximum. Format is JPG/JPEG or PNG. Everything else is folklore built on top.
| Mistake | What Happens | Do This Instead |
|---|---|---|
| File over 150 KB | Rejected by the AAMC system | Compress to under 150 KB (aim 100-120 KB) |
| Wrong dimensions | System distorts or auto-crops your face | Resize to exactly 375 x 525 pixels |
| Low DPI | Soft, pixelated thumbnail | Use 150 dpi minimum |
| Wrong format (.heic.tiff) | Upload fails | Save as JPG or PNG |
| Bad filename (spaces, symbols) | Upload can break | Use letters, numbers, dashes, underscores |
One warning. A passport photo is not the same thing. It is close in shape but wrong on size, file rules, and framing. Do not assume it clears.
And note a stale error floating around: some guides still say 100 KB. That number came from the old ECFMG pipeline. The correct cap is 150 KB. I break down the exact math in my ERAS photo specs piece.
The silent killer here is the unassigned photo. IMGPrep calls unassigned photos among the most common avoidable errors. The file uploads fine, but you never assign it, so programs never see it. A successful upload is not proof the photo displays. Verify assignment in your dashboard.
Composition Mistakes: Framing and Background
The official rule is thin: head and shoulders, face centered. The real constraints come from advisors and working photographers. This is where good judgment matters.
Two crop failures dominate. Too tight, where the top of your head gets clipped. Too wide, where your torso fills the frame and your face shrinks. Both are called out as "awkward cropping" by Henry David Photography.
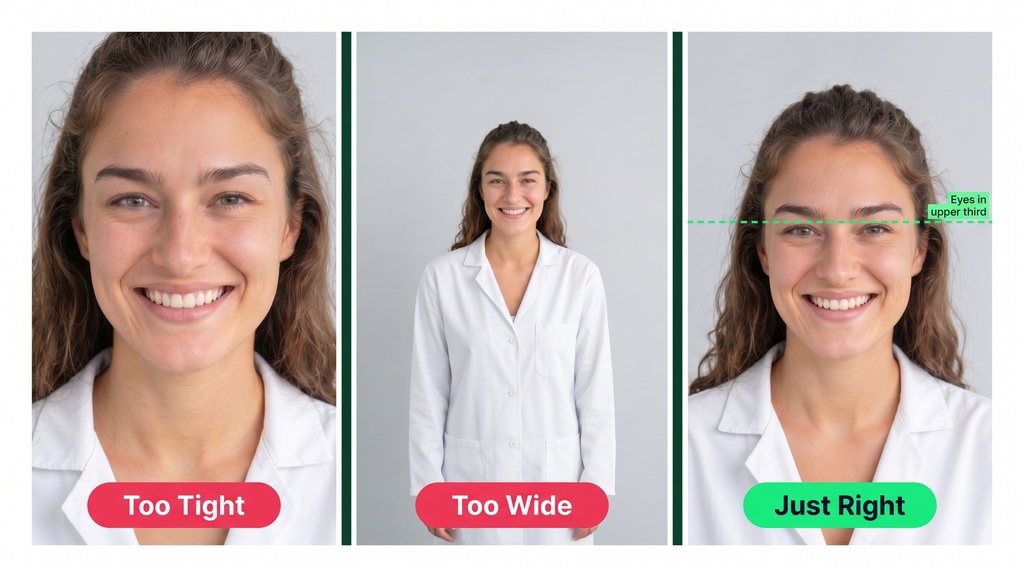
Here is the framing target. Head and upper shoulders visible. Face centered. Eyes at roughly the upper third of the frame. Camera at eye level, not below.
Background mistakes are just as common. A cluttered setting pulls attention off your face.
- A bookshelf full of books and knick-knacks behind you
- Patterned wallpaper that clashes with your outfit
- A window with street detail visible
- Furniture lines cutting through your head or shoulders
- Heavy overhead light casting deep eye shadows
Do this instead: Plain light gray, beige, or off-white. ResidencyAdvisor notes that light gray works better than stark white, which can blow out under flash. If you want the composition and cropping mechanics, my crop and edit a headshot guide covers eye placement and the rule of thirds.
Wardrobe and Grooming Mistakes
This is the bucket where students feel most lost, because the AAMC gives zero dress guidance. The "wear a suit" rule came from photographers and career offices, not from the AAMC. That does not make it wrong. It makes it consensus, not law.
The consensus is consistent and conservative. Business formal, neutral, no white coat, no scrubs.
| Don't Wear | Why | Do This Instead |
|---|---|---|
| White coat | Not standard; can read as presumptuous pre-attending | Dark blazer alone |
| Scrubs | Rejected even for surgical specialties | Blazer over collared shirt |
| Hoodie, t-shirt, graphic clothing | Reads as casual and careless | Solid neutral top |
| Loud tie, neon, bold patterns | Creates visual noise at small size | Solid or subtle pin-dot |
| Deep V-necks, revealing cuts | Distracting in a conservative field | Modest, structured neckline |
| Wrinkled or ill-fitting blazer | Signals inattention to detail | Pressed, fitted jacket |
| Statement jewelry, large logos | Blurs into blobs at thumbnail size | Small studs, delicate chains |
On color: dark navy or charcoal blazer is the near-universal recommendation. A white button-down can make any tie look too loud, so light blue is often the safer shirt. I dug deeper into the white coat question in my skip the white coat piece, because it comes up in every cycle.
Optimize wardrobe for clarity, not fashion. The face is the subject. The outfit only supports it.
Editing and Filter Mistakes: The Identity Trap
This is the most dangerous bucket, because the risk is not stylistic. It is procedural. ECFMG states that submitting a "falsified or altered" document is an example of irregular behavior. That is the strongest published language against heavy retouching and AI-generated faces.
So where is the line? Light correction is fine. Face reshaping is not.
| Editing | Verdict |
|---|---|
| Brightness, white balance | Fine |
| Minor blemish removal, flyaway hair | Fine |
| Subtle under-eye cleanup | Fine |
| Plastic-looking skin smoothing | Don't |
| Glowing white teeth | Don't |
| Face reshaping | Don't |
| Color-tone filter (blue or orange overlay) | Don't |
| AI-generated faces or heavy AI edits | Don't |
One working photographer puts it well: "You should look like yourself, not a filtered version of yourself." That is the whole test. An interviewer compares the photo to the person in the room. If they do not match, the photo failed its one job.
This is where AI tooling needs a clear line. There is a real difference between a photo that looks recognizably like you and a generated face that does not. Over-edited images stop looking like the real you, which is exactly the failure I unpack in my AI headshot red flags guide. The identification purpose is the override. Optionality is power, but not when it costs you your own likeness.
Expression, Pose, and the Selfie Problem
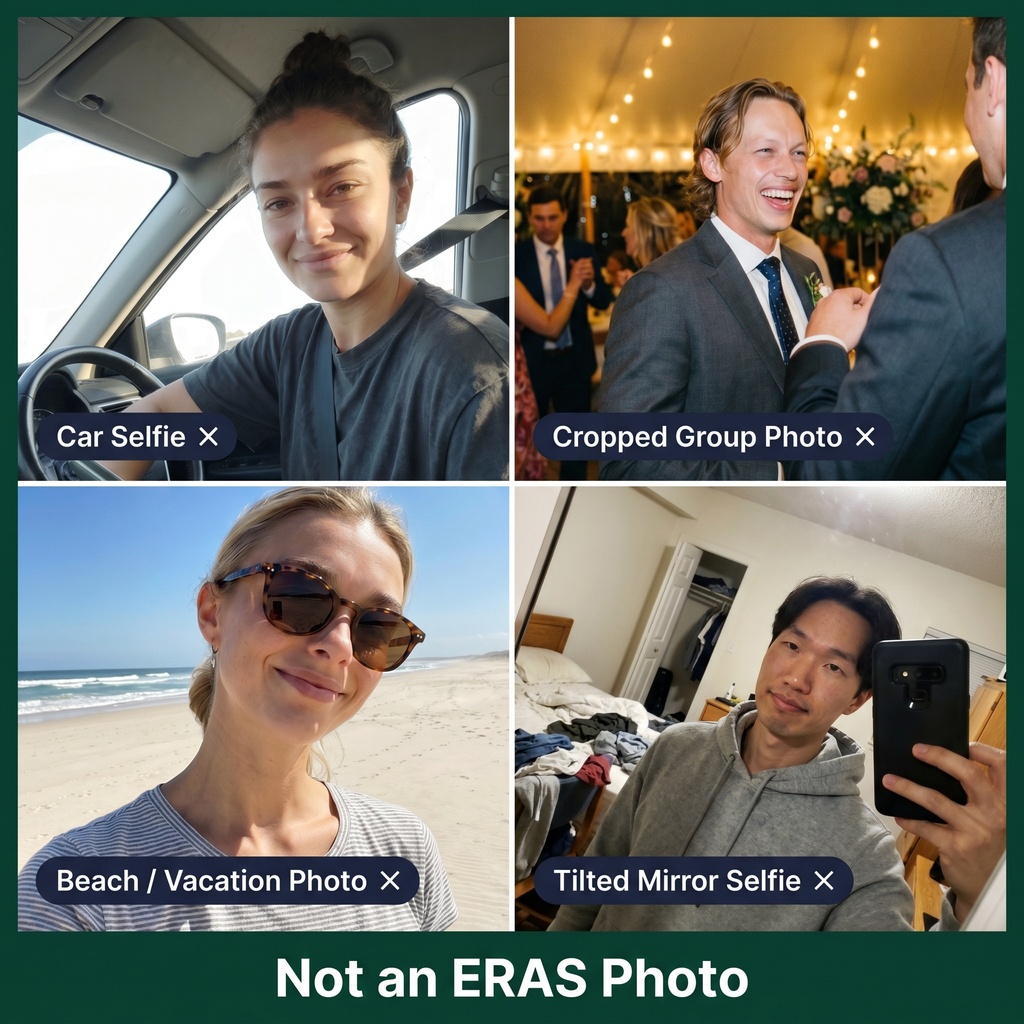
The most cited mistake across every source is the front-camera selfie. Henry David Photography treats "using a selfie" as mistake number one and notes plainly: "Program directors can tell."
Why does a selfie fail? Wide-angle distortion, a tilted horizon, and a candid expression. Together they produce a thumbnail that reads as off before your application is even read.
The variants are all in the same family:
- A car selfie with the seatbelt visible
- A cropped wedding photo with a friend's arm still around your waist
- Beach or vacation shots
- Group photos with an extra ear or hand peeking in
Expression matters too. Avoid the mugshot, no smile and a tense jaw. Avoid the over-the-top brunch grin with squinty eyes. Aim for a relaxed, slight smile that reaches the eyes. Practice a few takes. Good judgment comes from calibrated mistakes, and the cheapest place to make them is before you upload.
The Two Beliefs That Trip People Up
Let me challenge two things you probably believe.
"Any decent passport-style photo is fine." It is not. The size, framing, and file rules differ. A passport photo is smaller and squarer. It fails the ERAS spec.
"The only safe path is an expensive studio." Also false. A planned home shot with a blank wall and two soft lights clears the bar for under $100 in gear. Veteran advice on r/medicalschool has said for years you can do it at home if you are careful.
The interesting wrinkle: your photo is not a beauty contest. A 2026 JMIR study of 2,681 applications found each point of "attractiveness" was tied to a 19% higher interview likelihood, but that link disappeared after controlling for scores, experience, and demographics. Translation: do not chase attractive. Chase compliant and recognizable.
If you fumble the photo late and have no time to reshoot, AI headshot services like InstaHeadshots are a fast fallback. A traditional shoot runs around $300 and half a day. AI can produce a compliant, professional image in about 15 minutes for $49 to $69, with medical-specific styling and full image rights. Just hold the output to the same identity test: it must look like you. Do not confuse motion with progress.
Why This Is Worth the 30 Seconds
Here is the market logic. In markets and careers, survival is underrated. Your photo does not win you interviews. It only loses them if it signals carelessness.
There is also a timing edge. Fixing the photo early protects your submission date. Early submitters in some competitive specialties see a 25 to 35% interview lift. A failed upload that delays you has real downstream cost. Speed matters, but direction matters more. Do both.
The 30-Second Pre-Upload Check
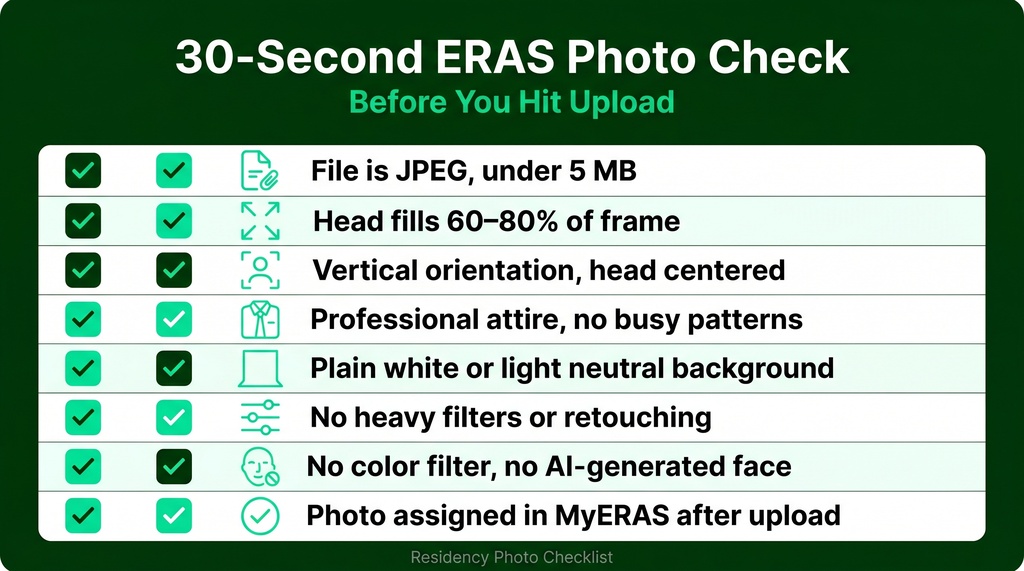
Run this list before you hit submit. Bookmark it. Or run your photo through our free ERAS Photo Checker to confirm each item automatically.
- File is JPG or PNG. Size is under 150 KB.
- Dimensions are exactly 2.5 x 3.5 inches at 150 dpi (375 x 525 pixels).
- Head and shoulders visible. Face centered. Eyes in the upper third.
- Background is plain: light gray, beige, or off-white. No bookshelf, no window, no furniture lines.
- Outfit is business formal. No white coat. No scrubs. No hoodie. No loud patterns.
- Expression is a relaxed slight smile. No mugshot. No big grin. No tilted selfie angle.
- Retouching is light only: brightness, white balance, minor blemish removal. No plastic skin, no glow teeth, no color filter, no AI-generated face.
- Photo is assigned in MyERAS (or uploaded via MyIntealth for IMGs). Confirm after upload.
Patterns repeat. Most people just don't notice them. Now you do. Clear these eight items and you have removed the most common ERAS photo red flags in one sitting.